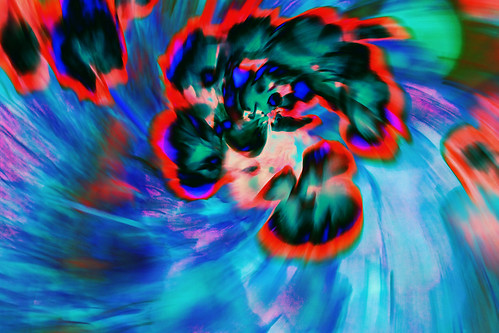
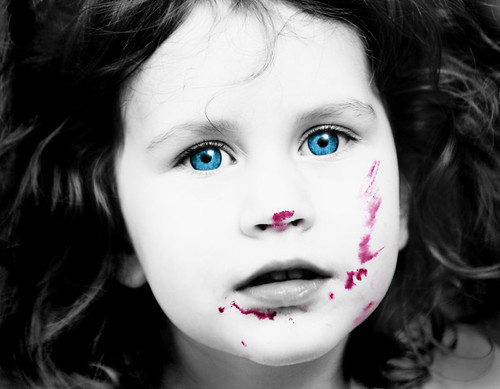
I created these two images as an entry to a photo competition with the theme "creative colour". I didn't win anything, but thought you may be interested in hearing how they were done anyway!
The images above are the final versions after editing - the remainder of this post gives the basic details of the post-processing that I used for each of them.
The first image was created as follows:
- I took a photo of some flowers in the garden using a slow shutter-speed (1/15s at f/20). During the exposure I rotated the camera and zoomed in to give a spiral blur.
- I brought the photo into Photoshop and went wild with the curves (adjusting the red, green and blue curves separately) until I got some interesting looking colours.
- Finally, I created another layer with the original image set to overlay mode.
- Firstly I convinced my 3-year-old daughter, who bore the evidence of her recently devoured jam sandwich across her face, to let me take a few photos of her.
- I selected one of the photos from the set and converted it to b&w by separating out the channels from various colour space modes and combing the ones that worked best to give a nice, high-contrast image. I had to create a separate layer for the lips as the b&w conversion had left them looking rather insipid.
- I masked off the jam smudges (which was actually more difficult that I'd hoped it would be - I had to create a number of separate masks and combine them to get a final mask that worked well enough for what I wanted) and used that to paint on the purple colour - I wanted to avoid anything too red to avoid it looking like blood (although I'm not sure that I really succeeded in that - I think it still looks a bit like she's had a bad fall!).
- I wanted the eyes to really stand out, so I spent a while enhancing them -
- I selected a different combination of channels along with a curves adjustment layer to get a basic bright eye look.
- I enhanced the natural blue colour with some blue painted layers set to colour mode.
- I used a couple of layers in "color-burn" mode with dark grey paint to enhance the dark outline around the blue of the eyes and the pupils
- I used a layer in normal mode with a soft white brush to strengthen the highlights
- Finally, I used another layer in normal mode with white paint to brighten up the eye-whites slightly.
- I finished off with an overall adjustment layer to tweak and overall look and contrast.


No comments:
Post a Comment