== Love Photography == Delight in Light ==
Showing posts with label black and white. Show all posts

Friday, 13 November 2009

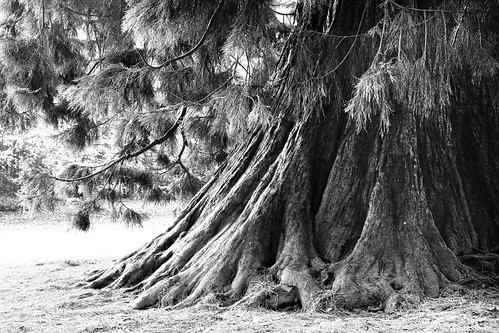
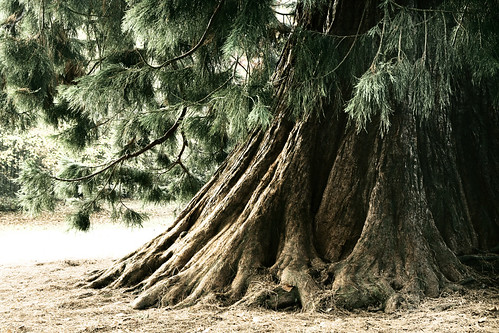
The Tired Old Tree

The Old Tree - B&W

The Old Tree - Final

These are (obviously) two versions of the same photo - I first created the black and white one and then worked on that a bit more to get to the coloured one. I'm still not really sure which I prefer, so I thought I'd post them both for you to see.

The rest of this post shows the original photo and gives a brief description of the post-processing work involved.

Wednesday, 19 August 2009

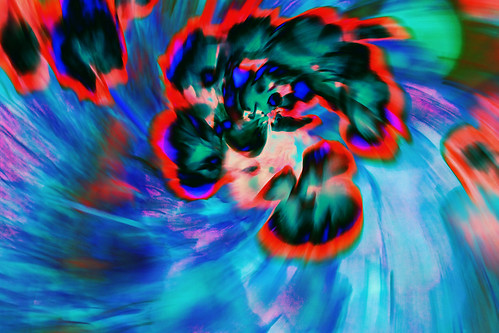
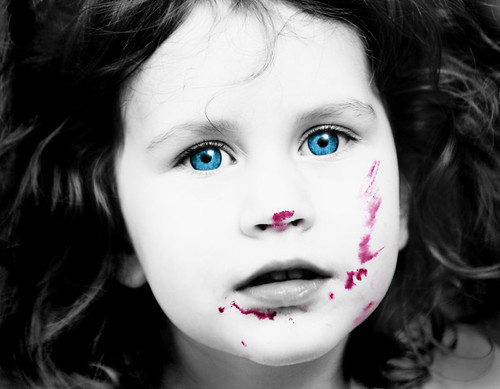
Creative Colour with Flowers, Eyes and Jam

Colour Burst

Blue Eyes & Jam

I created these two images as an entry to a photo competition with the theme "creative colour". I didn't win anything, but thought you may be interested in hearing how they were done anyway!

The images above are the final versions after editing - the remainder of this post gives the basic details of the post-processing that I used for each of them.

Monday, 28 May 2007

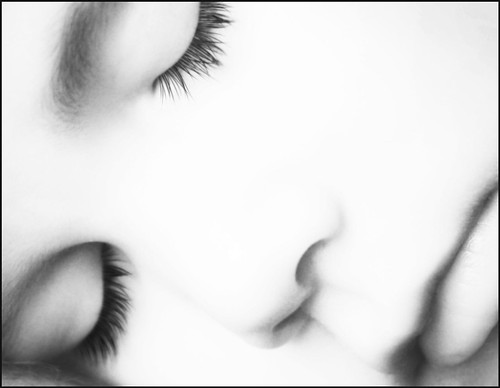
Sleeping Child

Sleeping Child

This is photo that I took for a competition with the theme "close-up". I didn't have a digital camera of my own at the time (to speak of), so I took the photo with an Olympus digital camera that I borrowed from a brother-in-law. I converted the photo to black & white by playing around with various channels - mostly it came from the K channel in CMYK mode with a bit of the other channels mixed in to avoid the completely blank areas that you get with the K channel by itself. The detail in the photo was a little soft for my liking, so used the pen tool in two ways to help to improve it a little:

  • I used the pen to create masks along some of the lines that needed to be sharpened up a little (for example along the eyelids, nostrils, etc.). Ironically the masks needed to be blurred a little (with the blur brush) because the lines directly from the pen tools were a bit too sharp on their own. I used the resulting masks to sharpen things up a little by lightening / darkening along the edge of the mask as appropriate.
  • I draw paths along each of the eye-lashes (ok, so I had too much time on our hands!) and stroked the paths with a black brush using simulated pressure. This resulted in reasonably realistic, sharp lashes which were a significant improvement on the originals which were a bit too blurred and grainy for my liking (although, again, I had to reintroduce some blurring in places to soften them back down a little).

Friday, 4 May 2007

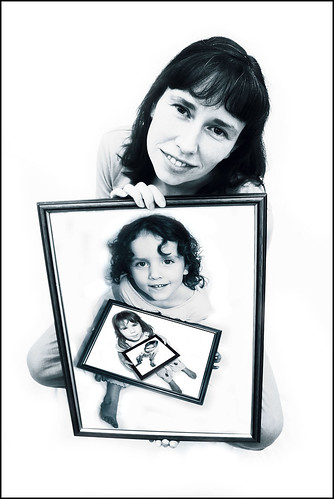
Picture Frames

Frames

The idea for this came from a similar idea that I had seen somewhere else at some point in the past. I rigged up a white sheet as a background and got each person to sit on the sheet (one at a time) holding a framed picture (borrowed from various walls around the house!). The actual picture in the frame that they were holding didn't matter. Once all the individual photos were taken, I opened them in Photoshop - converted them to black & white (primarily by converting to CMYK and using the K channel mixed with a little of some of the other channels) - and then used "free transform" to transform then so that they fitted into the frame that the other person was holding. I also had to do some erasing of the background here and there to touch things up.

If you've got kids (or know someone who has), then why not give this idea a try yourself - it's not particularly difficult, fun and is a bit different from just a straight family shot.