== Love Photography == Delight in Light ==
Showing posts with label child. Show all posts

Wednesday, 19 August 2009

Creative Colour with Flowers, Eyes and Jam

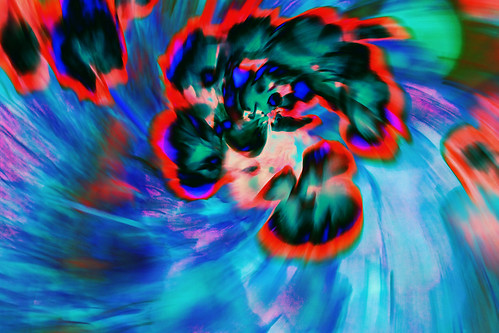
Colour Burst

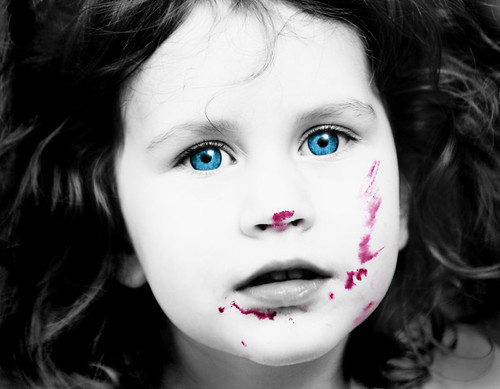
Blue Eyes & Jam

I created these two images as an entry to a photo competition with the theme "creative colour". I didn't win anything, but thought you may be interested in hearing how they were done anyway!

The images above are the final versions after editing - the remainder of this post gives the basic details of the post-processing that I used for each of them.

Wednesday, 18 July 2007

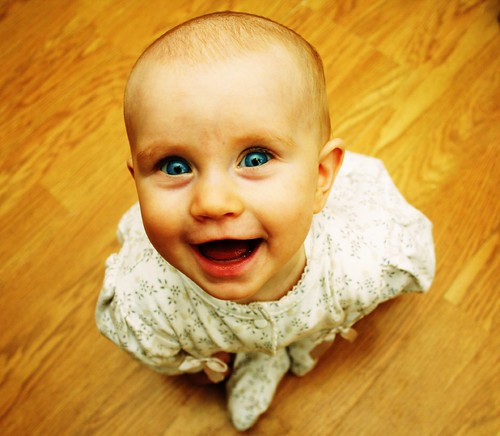
Grinning Baby

Baby Smile

This is a photo of my youngest daughter taken a little while ago. She is actually sitting on the floor - although her legs were a bit obscured by the fact that she was leaning forward so it does look more like she was standing!

Here's a quick summary of how I did it:

  • I was wanting a high viewpoint, so I popped my her on the floor (she could sit but not crawl at that stage - ideal for this sort of thing!) and, using a wide-angle lens, took a few photos of her from close above her head. I played a kind of "peek-a-boo" game with the camera to get the giggles.
  • The lighting was very simple - just an on-camera flash (strobe) rotated around so that the light bounced off the ceiling (if you view the large version of the photo on Flickr you can just about see the reflection of the camera and flash in her eyes).
  • I selected the best image and adjusted it in Photoshop as follows:
    • I used a curves adjustment layer to get the colour effect. I wanted a fairly high-contrast kind of look, so I started off by adjusting each of the RGB curves so that the curve slope for that was steepest in the zones corresponding to the main detail in the photo. Then I played around with the curves a bit more until I got an overall colour cast that I liked.
    • I made a selection of the blue part of the eyes (from the original photo), enhanced the blue colour a bit (again using curves), and then superimposed them over the rest of image to get the blue of her eyes to really stand out.

Thursday, 12 July 2007

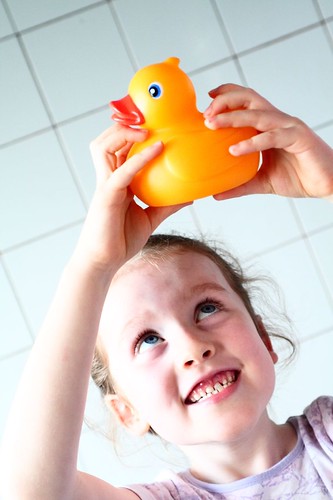
Me & My Ducky

Hello Duckie

This is a photo of my daughter dancing around with a rubber ducky. I wanted to have a dynamic composition (to match her rather manic expression!), so I placed her head low in the frame and held the camera at an angle (as you can tell from the wall tiles).

The lighting for the photo was simply window light from the bathroom window. Post processing involved playing around with curves and contrast a little in the RAW processing software that came with the camera (Canon Digital Photo Professional [DPP]).

Monday, 28 May 2007

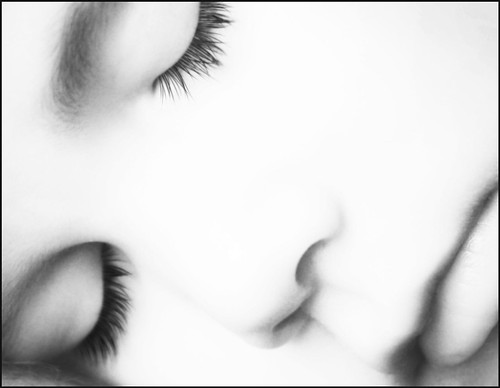
Sleeping Child

Sleeping Child

This is photo that I took for a competition with the theme "close-up". I didn't have a digital camera of my own at the time (to speak of), so I took the photo with an Olympus digital camera that I borrowed from a brother-in-law. I converted the photo to black & white by playing around with various channels - mostly it came from the K channel in CMYK mode with a bit of the other channels mixed in to avoid the completely blank areas that you get with the K channel by itself. The detail in the photo was a little soft for my liking, so used the pen tool in two ways to help to improve it a little:

  • I used the pen to create masks along some of the lines that needed to be sharpened up a little (for example along the eyelids, nostrils, etc.). Ironically the masks needed to be blurred a little (with the blur brush) because the lines directly from the pen tools were a bit too sharp on their own. I used the resulting masks to sharpen things up a little by lightening / darkening along the edge of the mask as appropriate.
  • I draw paths along each of the eye-lashes (ok, so I had too much time on our hands!) and stroked the paths with a black brush using simulated pressure. This resulted in reasonably realistic, sharp lashes which were a significant improvement on the originals which were a bit too blurred and grainy for my liking (although, again, I had to reintroduce some blurring in places to soften them back down a little).

Friday, 4 May 2007

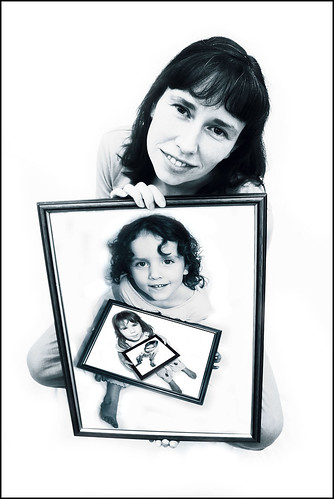
Picture Frames

Frames

The idea for this came from a similar idea that I had seen somewhere else at some point in the past. I rigged up a white sheet as a background and got each person to sit on the sheet (one at a time) holding a framed picture (borrowed from various walls around the house!). The actual picture in the frame that they were holding didn't matter. Once all the individual photos were taken, I opened them in Photoshop - converted them to black & white (primarily by converting to CMYK and using the K channel mixed with a little of some of the other channels) - and then used "free transform" to transform then so that they fitted into the frame that the other person was holding. I also had to do some erasing of the background here and there to touch things up.

If you've got kids (or know someone who has), then why not give this idea a try yourself - it's not particularly difficult, fun and is a bit different from just a straight family shot.